How to Control Email Notifications from Social Networks
How to get less notifications from Facebook, Twitter, Instagram, Pinterest, or Google Plus? Many people ask this question after being frustrated or distracted. In this article, we are about to show some great tweaks that you can utilize to control email notifications from social networks.
How many social networks are you a member of? I bet you’re a member of at least 3, if not many more. Personally, I’ve lost count of the number of social networks I’m on, which also means that my email Inbox is out of control. Why? Because I’m constantly receiving email notifications from all of the social networks I’ve joined and for every little thing!
Most social networks now have at least 2-3 different email notifications that they will send out to you like: when you get a friend request; when one of your friends from Facebook joins; when one of your friends adds a new post; when someone comments on a post that you’ve commented on; and much more.
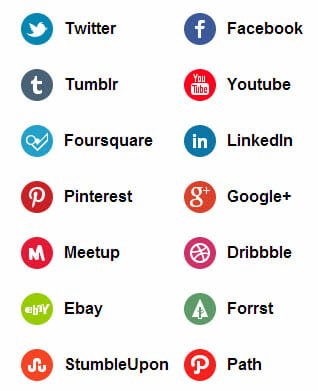
Do you really want or need to receive all of these notifications? No, you don’t. So today I’m going to show you how to take control some of these email notifications, using a free service called Notification Control. With this service, you can clean up your email notifications from the top social networking websites such as Twitter, Facebook, LinkedIn and Google+.
Use Notification Control To Stop Email Notifications From Social Networking Websites
1. Go to the Notification Control website and click on the first social network that you want to clean up. For the purpose of this tutorial, we’ll start with Twitter.
2. When you click on Twitter, a new tab will open up. You’ll notice that Twitter’s email notifications page will appear in that tab.

3. Go through each option on the page and deselect anything that you don’t want to receive anymore such as notification of new follows, the daily or weekly digest, Twitter newsletters, etc.
4. When you’re done, save your changes and go back to the Notification Control website. Keep on going through your social networks until you’ve cleaned up the email notifications for each one that you’re a member of.
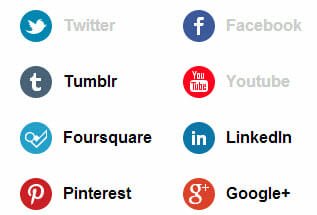
5. When you click on a social network in the list, it will become grayed out, so you’ll know that you’ve already gone through it. It’s as simple as that.
Use Email Filters To Ignore Notification Emails
You may want to have better control over the email notifications that you choose to keep as well. You can do this by creating email filters for them and organizing them into their own folders in your Inbox. You can create filters in Outlook, Yahoo, Hotmail and Gmail.
Since Gmail is the most popular email client, let’s quickly go through the steps of creating an email filter in Gmail.
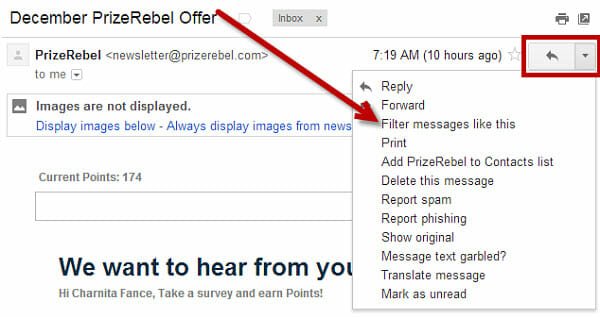
1. Open the email message that you want to filter and click on the arrow next to the reply button at the top right corner of the email message.
2. Select the “Filter messages like this” option from the menu that appears.
3. A form will appear right below the search box in Gmail. Leave the “From” field as is and then click on “Create filter with this search” at the bottom of the form.

4. Now you can decide what you’d like to do with email messages from that source. The best option for your social networking email notifications is to skip the Inbox and apply a label.
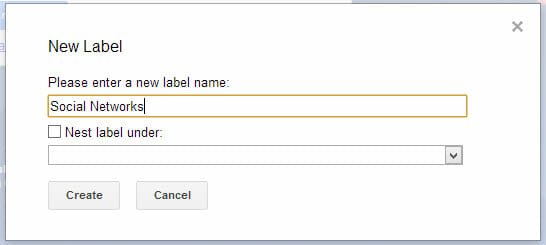
You can create a label called “social networks” or anything else that you choose. That way, those email notifications will stay out of your Inbox, and you can read them whenever you want just by going to that label.
5. Once you’re happy with the options that you’ve chosen, click on “Create filter” at the bottom of the form and you’ll be all set.

6. You may also want to apply the filter to any matching conversations if there are any. This will automatically move the messages already in your Inbox from that source, to that label.
7. Repeat this process for the rest of your email notifications from social networks, until you have added them all to your “social networks” label. Now those emails are under control.
Final Thoughts
Notification Control is an excellent tool for minimizing the number of email notifications that you receive from social networks, and creating email filters is the best way to keep them out of the way in your Inbox.Now that you know how to keep those social networking email notifications in check, you’re on your way to less headaches and a neater Inbox!