Fix CD or DVD Drive Problems In No Time!
USB devices have slowly and gradually been killing the long established CD/DVD drives of our machines. However, many of us (that counts in millions) still employ the DVD drive to read and write our data/music/video’s etc. It still proves handy when the data needs to be shared or read on the spot and you are out of the Internet or USB storage devices. Write the data to a DVD or a CD and give it to the person, right away. No complicated strings attached.
If you own a laptop or a desktop that has a DVD or a CD drive, you must have done a complete re-installation of the Windows OS after being frustrated for countless hours in fixing your drive, atleast once in the life time of that drive.
These are some of the common problems with drives in a Windows machine:
1. Drive isn’t showing up in explorer.
2. Drive isn’t reading any CD’s or DVD’s.
3. Your windows stop responding when you click on the drive.
This tutorial will help you in fixing your drive with tried and true solutions which in turn save your efforts of reinstalling Windows and programs. Here you go:
Fix your drive automatically:
1. In-built Windows 7 troubleshooter
Windows 7 has an inbuilt troubleshooter that detects any hardware changes and fix the problem device right away. This is how you use it:
- Click the Start button and type “Troubleshooting” in the search bar. Click on “Troubleshooting” once it reflects in the search results.
- Under “Troubleshoot computer problems” and click “Hardware and Sound”.
- Under “Device”, click “Hardware and Devices”.
- Under “Troubleshooting and help prevent computer problems”, click “Next”. The inbuilt troubleshooter tries to find the problem device and suggests a fix. Chosen fix will be applied and should fix the problem for you.


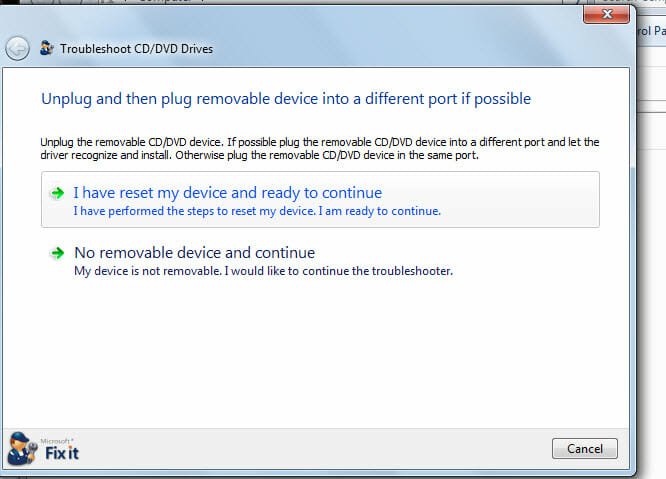
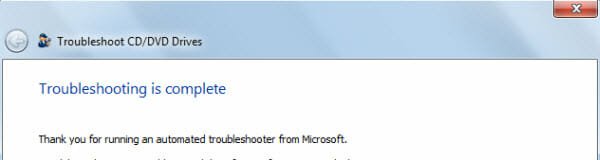
2. Microsoft’s CD and DVD “Fix it” tool for Windows:
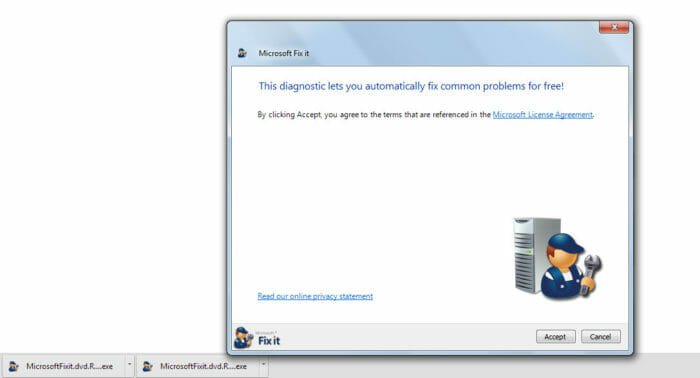
Haven’t been lucky in getting the drive fixed in the first shot? Not to worry. Try the Windows “Fix it” tool from Microsoft. Download the tool, run it and it jams the problem for you. It’s that simple. This is how it does it:
- Download the tool from here.
- Run the tool and install it.
- Click “Detect problems and apply the fixes for me (Recommended).
- It tries to scan the drive and offer solutions. Follow the solutions offered and ideally the drive should be fixed.
3. Run the Auto fix script:
If the drive isn’t showing up in Windows explorer or flashes in or out while reading CD’s or DVD’s, try running this script. It makes necessary changes in the Windows registry and fix your drive in a single click. Let’s do it:
- Download the script from here
- Unzip the file and run the program executable as an administrator.
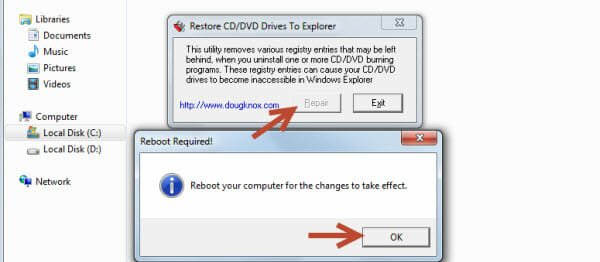
- Click “Repair” and click “OK” to reboot your computer. When it boots back, you should get your drive back again.
Fix your drive manually:
1. System Restore:
System Restore works like a charm in similar cases. If your drive did work a day or a week back, there is a very good chance of getting it fixed by restoring it back to the date when it worked. This is how you do it:
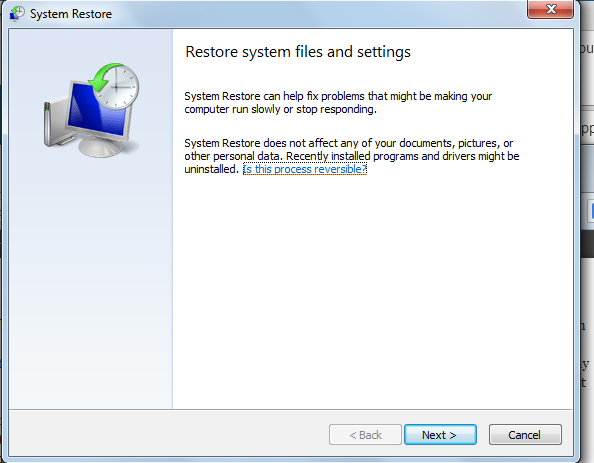
- Click on the “Start” button and type “system restore”. Click on “System Restore” when it gets displayed in the search results.
- System Restore automatically suggest you a recommended restore point. But, if you are sure about the date or day on which the drive worked, click “Choose different restore point” and click “next”. Select the requisite restore point and click “next”.

- Click “Finish” to start the restoration process. Please note that once the restoration process starts it couldn’t be stopped. Please note that your data (documents, music, video files etc) will be unaffected but any installed programs during the selected time frame, will be removed.
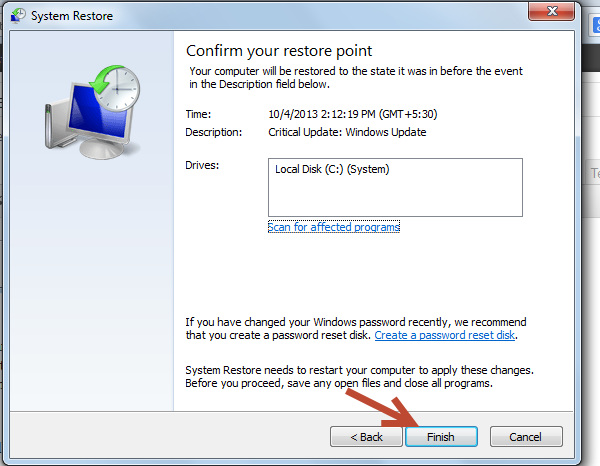
- Your computer will be restarted and you should get your drive back to life.
2. Remove ghost devices and reinstall the drive.
It still didn’t work ah? Let’s try the rocky way. At times it happens that when you update or reinstall the drive time and again, traces of previous installations left un-removed from the device manager. This interrupts the new installation and doesn’t let the device registry keys being properly written. It’s always a good practice to remove the ghost entries from your device manager and reinstall the device. This is how you do it:
- Click on the “Start” button and type “CMD” in the search bar. Right click on it once found and click “Run as administrator”.
- Type “set devmgr_show_nonpresent_devices=1” (without the quotes) in the CMD box and press enter. Now, type “devmgmt.msc” and press enter.

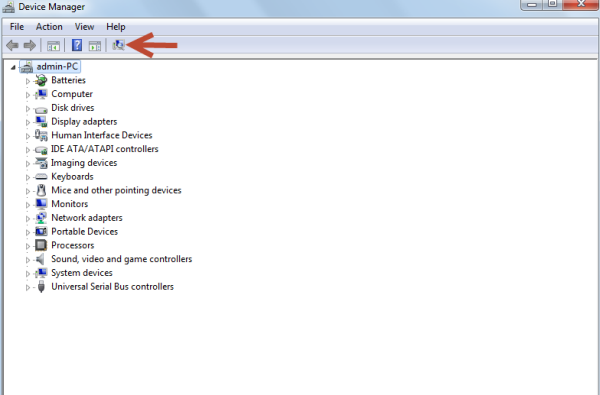
- In “Device manager”, navigate to “View” and click “Show hidden devices”. All the shadow copies get displayed under DVD/CD Rom drives. Right click on them one by one and “uninstall” the devices. Once done, restart your machine.

- Once restarted, click on the “Start” button, type “Device manager”, click it once found and expand “DVD/CD Rom drives”. Right click on the problem drive and click “Uninstall”.

- Restart your machine, navigate to “Device Manager” again and click on “Find hardware changes” button. It should find the missing device and install it automatically.
- Check your device functionality. It should be up and running now.
3. Manually fix the corrupted registry keys:
This choice comes in the end because of the delicate nature of windows registry. You can’t just play around with it. Please be advised to take proper registry backup before attempting the following changes:
- Click on the “Start” button and type “regedit” in the search bar. Run it as an administrator.
- Navigate to this registry subkey: HKEY_LOCAL_MACHINE\SYSTEM\CurrentControlSet\Control\Class\{4D36E965-E325-11CE-BFC1-08002BE10318}.
- In the right pane, look for “upper filters” and “lower filters”. If found, right click on the keys and delete them.
- Restart your computer and hopefully you would get the drive back to work.
Since CD drive on it’s last legs, DVD drives, specially the one’s that could read dual layer DVD’s, are still in fashion. However, with winged nature of technology, we just can’t predict it’s future. But, we hope, till the time it’s getting regulated, these tricks may help you in fixing these drive annoyances.