How to Install Android on PC using VMware Workstation
Android is a very popular operating system for mobile and platform. Loads of people are using Android since a long time now. But, let’s assume that you install a lot of apps on your Android mobile every day. This is evident that your Android mobile will slow down all the processes if you keep installing even 2 or 3 apps every single day. To get rid of this problem, you can install Android on PC. There are several methods to install Android on Windows and today; I am going to show you one of them that will be done using VMware Workstation, which is a very stable virtual machine creator.
What can you do by installing Android on PC?
You can do several things after installing Android on Windows computer. Although, few things are restricted yet most of the regular features are available in Vmware.
- You can install tablet-optimized Android app.
- You can capture images if you install that on a laptop or your desktop has a webcam.
- Create a video of various tutorials if you are a blogger or you have a YouTube channel.
What is Vmware Workstation?
Vmware Workstation is a Windows program that will let you create a virtual machine on your computer. Instead of installing Android on whole hard disk, this is far better to use Vmware to create a virtual machine on existing operating system. By installing Vmware, you can install more than one operating system. All you need is just the ISO image of that particular operating system. This is the basic use of Vmware Workstation. Apart from that, you can have shared virtual machine, duplicate an installation and more.
Prerequisites
You need to enable virtualization from your BIOS settings. To enable virtualization, do follow these following steps.
At first, restart your computer and open BIOS settings. Now, depending on the motherboard manufacturer, you need to find out the virtualization settings. However, if you have Intel motherboard, you can find it in Advanced settings tab. It will have an option called Intel (R) Virtualization Technology. By default, it would be turned off. You need to run on this setting.
Requirements:
You need two things if you have already enabled virtualization technology. First one is the VMware Workstation and the second one is the Android ISO image. At the time of writing, Android 6.0 or Marshmallow image is available. Therefore, you can visit this page and download the Android x86 6.0. Also, you can download Vmware workstation from here.
Install Android on PC using VMware Workstation
Now, install Vmware Workstation on your Windows computer and keep the downloaded Android x86 image somewhere. You cannot move that once you installed Vmware on your PC.
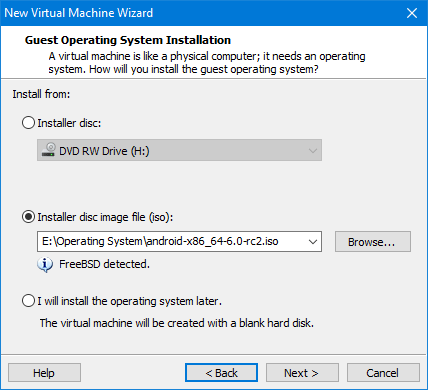
Open Vmware Workstation and go to Home tab. Here, you can find some options including Create a New Virtual Machine, Open a Virtual Machine, Connect to Remove Server and Connect to VMware vCloud Air. Just click on Create New Virtual Machine. Following that, select Typical (recommended) and hit the Next button. After that, select a second option or Installed disc image file (iso). Here, you have to click on Browse button and select the downloaded ISO image.
Then, enter a name for the Virtual machine and hit Next. Following that, enter the maximum disk size. As this is Android, you do not have to enter more than 30GB if you are installing this just for testing. Now, select Split virtual disk into multiple files.
On the next screen, you can customize the hardware. You can change RAM, processor, core per processor, etc. Now, power on the virtual machine. You will be greeted with the following screen,
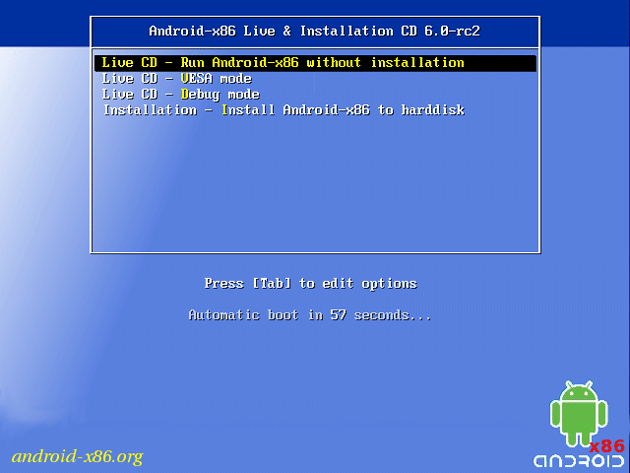
Click on Installation – Install Android-x86 to harddisk. On the next screen, select Create/Modify partitions. After that, select the affirmative option.

If you have got the screen mentioned above, select New and hit enter. Again hit the Enter button few times unless you get a partition called Linux Filesystem. Then, select Write and hit enter. Now, type YES and enter. Now, you should get a screen something like this,
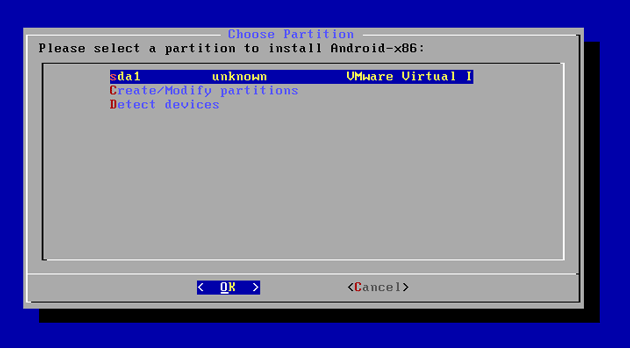
Select sda1 and hit enter. On the next screen, select ext4 and hit enter. Now, select affirmative option three to four times. After writing the data on the disc, choose Run Android-x86.
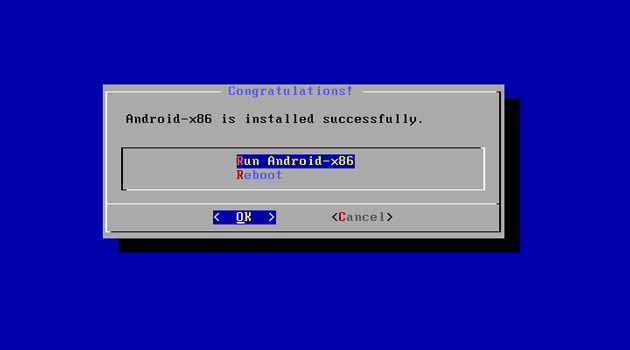
It will take few moments to boot. After that, you can find a whole new screen just like a new Android mobile.
That’s it! This is quite tricky but very useful. If you get any problem, you can contact us.