How to Set up Zoho Mail on Android Manually
Blog is the most popular platform sharing your random thoughts. Different people do blogging for different reasons. If you do blogging for earning money, the first thing you need is professionalism. There are hundred and one ways to be more professional with your blog. Among all those ways, a professional looking email ID is a part of the competence.
You can certainly use your own domain to create an easy-to remember email ID. For example, rather than using myblogname@gmail.com or myblogname@yahoo.com, you can use yourname@yourdomain.com or admin@yourdomain.com etc. Previously, Google provides such an option to create email ID using own domain at free of cost. Now, you still use that by paying some fees. On the other hand, Microsoft’s Outlook also used to provide same option.
After Google and Outlook, Zoho Mail is the best solution to create custom email ID at free of cost. You can surely make professional email ID using your own domain for small business since free version does not provide a lot of options and storage. However, this is good for starting.
If you have already made your email ID, you will obviously try to use that on your mobile. As this is not a Gmail ID, you cannot use it in your Gmail app. But don’t worry, you can simply use the Email app on your Android mobile to access Zoho Mail. Here’s how you can do so.
How to setup Zoho Mail on Android?
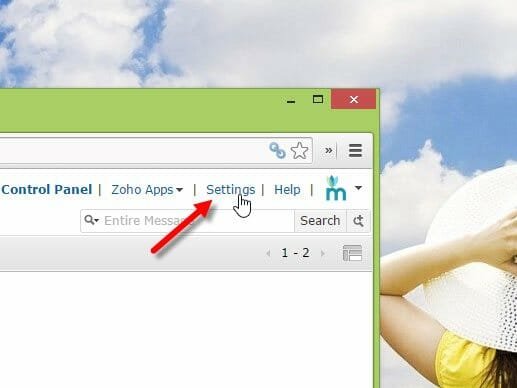
This is very easy and not yet much time consuming. At first, you need to enable IMAP Access from your Zoho mail account, which is deactivated by default. To do so, sign in to your Zoho Mail account and click the Settings link that is located at the top right corner.
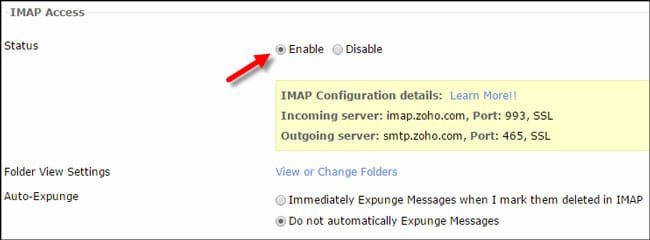
Then find out the Email Forwarding option and enable IMAP Access.
Therefore, you have to start working on mobile. Unlock your mobile and go to Settings and Add Account respectively. After that, select IMAP from the list.

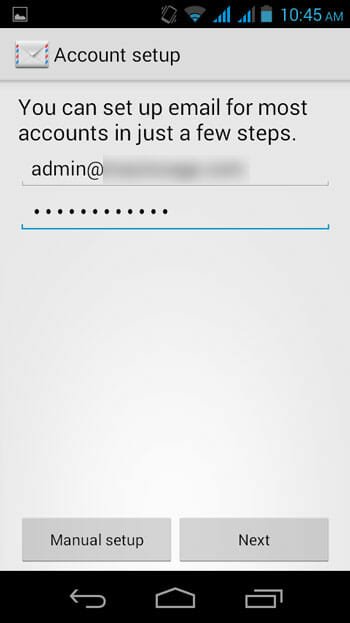
Now, enter your Zoho Mail email ID and password and hit the Manual setup button.
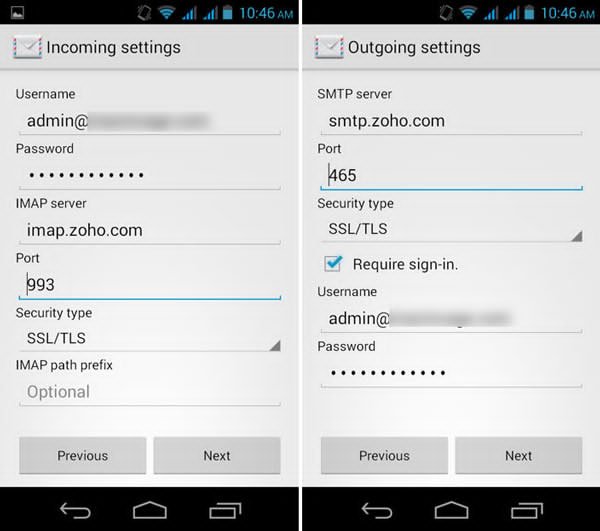
On the next screen, you will have to enter Incoming server detail and Outgoing server details. Enter imap.zoho.com in IMAP server and 993 in Port. Go to next. Enter smtp.zoho.com in SMTP server and 465 in Port. Both times, you can select SSL/TLS as Security Type. For more info, please check the following image;
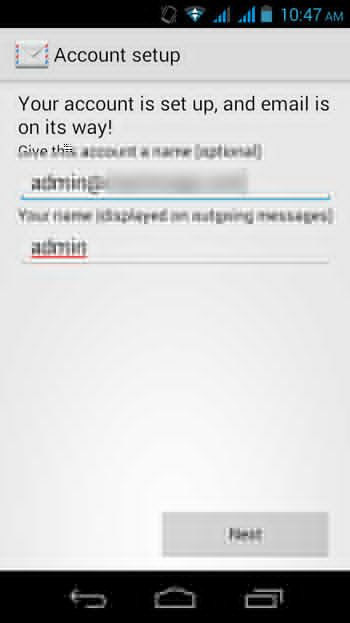
After that, you will get a screen something like the following picture;

Select update frequency and all the other settings according to your wish. The next step is selecting a name. That is optional.
If everything is OK, you can now use your Zoho Mail account on your Android mobile. You can check email, send email and do all the other things right from the Email app.
If you do not want to execute all these aforementioned steps, you can simply use the native Zoho Mail app on your Android mobile.