Useful Snapseed Tips and Tricks to Be A Professional
There is no doubt that Snapseed is one of the best photo editing apps for Android and you can use it for various purposes. From doing basic things like adjusting brightness and contrast to add double exposure, you can do everything with the help of Snapseed photo editing app. However, if you open this app for the first time, you might not be able understand everything. Therefore, this article will let you be familiarized with Snapseed so that you can turn a raw photo into a professional image.
Note: Snapseed for Android is available for Android 4.4 or later version and you need to have iOS 9.0 or later version to install it on iPhone.
Best Snapseed Tips and Tricks
1] Enable Dark Theme
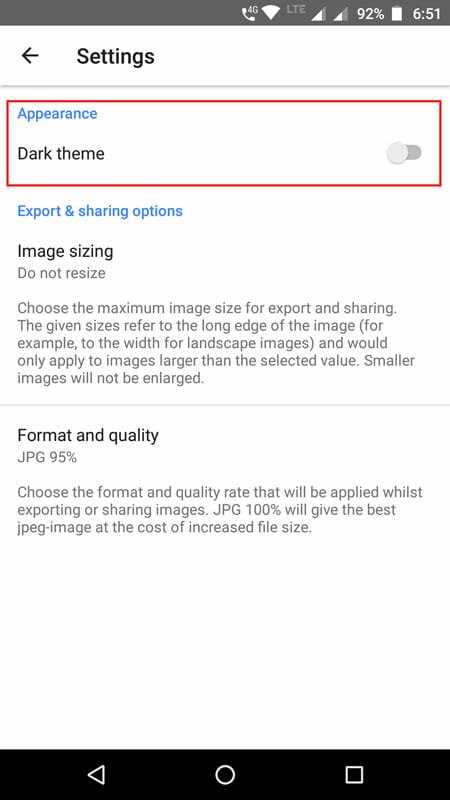
Dark theme or dark mode helps users when they are using the device in low light area. On the other hand, nowadays, almost every developer is including dark mode in their app and Snapseed is not an exception. Being said that, you can enable dark theme in Snapseed as well. This is very easy to use and not much time consuming too. To get started, open Snapseed and go to Settings. On this page, you should find an option called Dark theme. You need to toggle the button to activate it.
2] Change Photo Export Quality
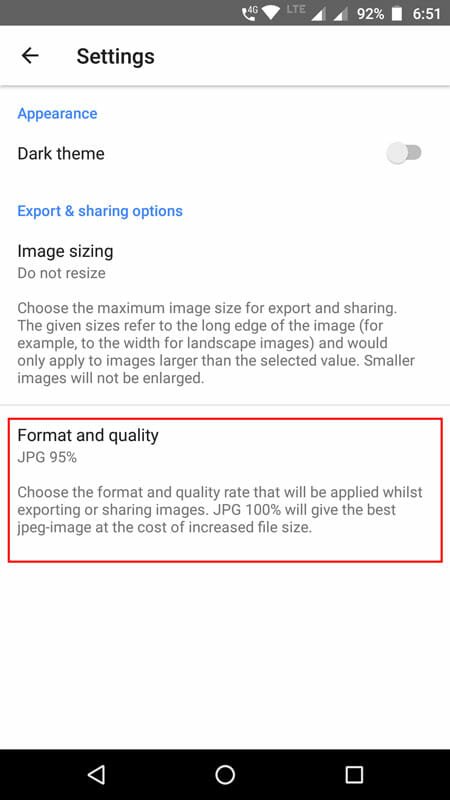
Obviously you save the image after editing in Snapseed. When you export, Snapseed reduces the image quality by 5%. Although this is not huge, if you do not want that compromisation in quality, you can follow these steps to get rid of that. On the flip side, you can reduce the quality by 20%. Also, Snapseed saves an image in JPG format. However, if you want to save the image in PNG, you can change that format from settings. To get these option, open Settings and go to Format and quality. Here you can find all the options as mentioned earlier.
3] Curves
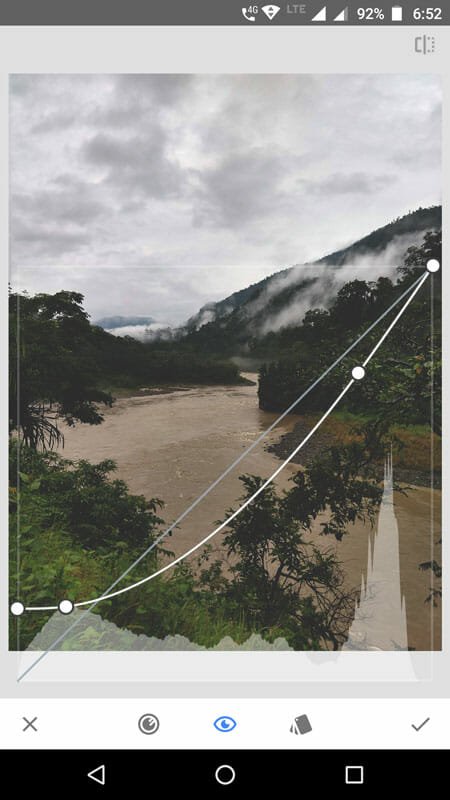
If you install a professional photo editing app, you would get the Curves option and Snapseed has that too. Curves is an awesome functionality of Snapseed that helps you manage the RGB colours. Being said that, you can manage Red, Green and Blue colors using a curve bar. From making an image brighter or darker, you can do everything with the help of this option. Also, you can find some preset settings including Soft Contrast, hard Contrast, Brighten, Darken, Faded, and so on. You can either choose any preset settings or you can manage the curve with the help of manual options.
4] Tune Image
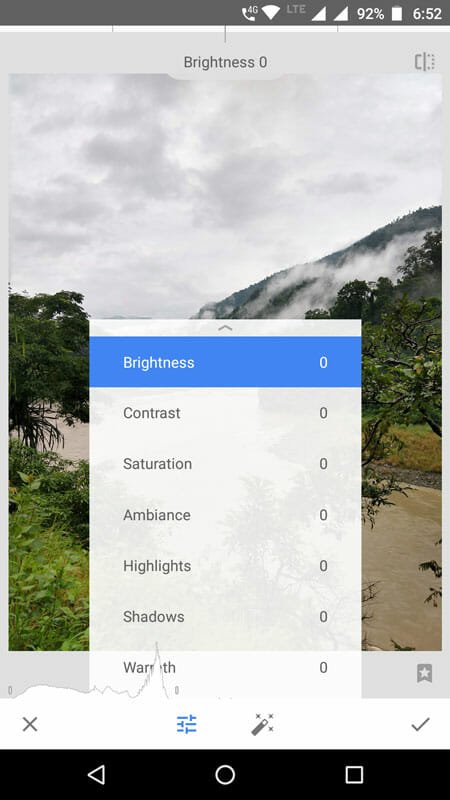
Tune Image is yet another option in Snapseed that allows you to do basic editing. For instance, you can manage brightness, contrast, saturation, ambiance, highlights, shadows, and warth. You can slide left to reduce or right to increase the level of brightness, contrast and so on.
5] Healing
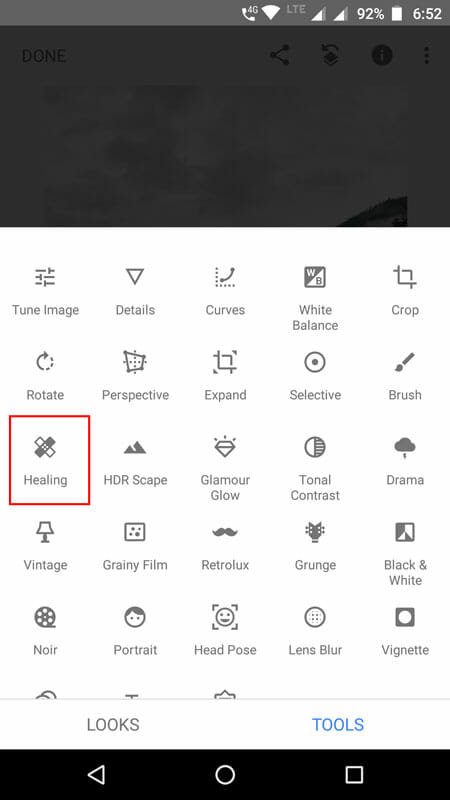
Let’s assume that you have captured an image but you want to remove something from that picture. At such moment, you can use the Healing tool, which will let you get rid of some small object within moments. Obviously, it is easy to hide something when you have a small object but it doesn’t mean you cannot remove a large object. In simple words, Healing tool gathers information from around the object. If you are a Photoshop user, you might have used Content Aware option. This would do the same.
6] Black and White

There are many times when you might need to add a black and white effect to your image. This is important when you are editing a classic image or doing something different. You can obviously slide right or left to increase or decrease brightness or contrast. On the other hand, there are some preset options that you can use as well. You will get options like Contrast, Bright, Dark, Film, Darken Sky and so on.
7] Double Exposure
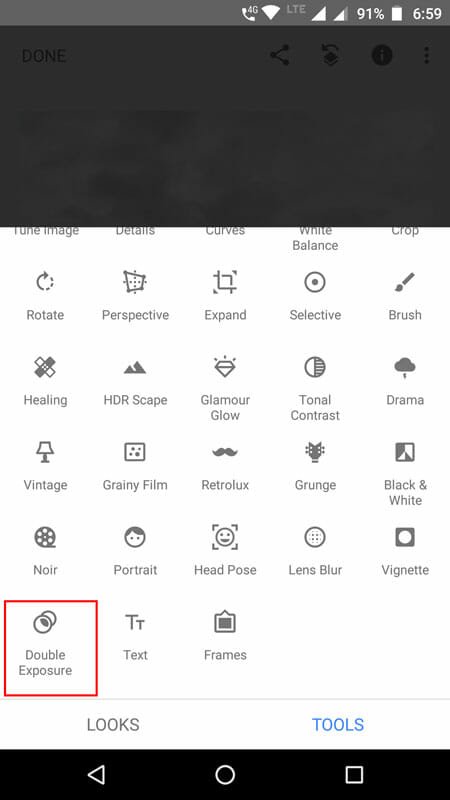
There are many times, when you can find an image which is actually a combination of two images. That is called double exposure. If you want to create something different and unique with your image, you can use the double exposure option of Snapseed. You can find this option under TOOLS > Double Exposure. At first, you can edit an image based on your requirements and then go to that option to add another image.
8] Frame

Although frame has become quite old, there are still many people, who use frames to edit an image. If you are one of them, and you often add frames to your image, you can use this functionality, which is available in Snapseed for Android or iOS. You can find this option under TOOLS > FRAMES. Following that, you can choose from various preset frames. Although they are basic but they can give your image a different look.
9] Perspective

Sometimes, you might need to move your image horizontally or vertically. This can be done with the help of Perspective option. You can find this tool under TOOLS > PERSPECTIVE. You can open up this feature and glide your finger from left to right or right to left or top to bottom or bottom to top. Also you can find an option called “auto adjustment” that you can use to make things better automatically.
That’s all! These are some of the best settings, tips and tricks of Snapseed for Android and iOS. Hope they would help you a lot.