How To Delete Or Restore Recovery Partition In Windows 8
Windows 8/8.1 come with the main drive along with a recovery partition which contains the image of your operating system. If you are running dangerously low on space,deleting the partition is an easy way to gain some extra space quickly. However you must be careful and do this only when you have the backup of the operating system in the form of an installation media or an image of the setup saved somewhere. Without a backup, you may suffer in the case your installation fails.
How to Delete the Recovery Partition in Windows 8 / 8.1
To delete the partition, follow these steps –
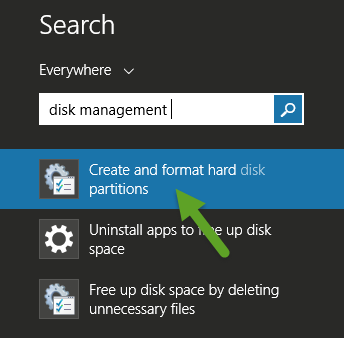
Go to the search option of the Windows (shortcut : Win key + S) and search for Disk Management. This can also be reached by right clicking on This PC (my computer) and navigating to Manage –> Storage.
From the list of volumes, select the recovery volume, right click on it and select Delete Volume. You can now use this as an independent volume to save some additional data. Although in some computers Windows may not allow users to club this partition to the main one with the Extend Volume command.
Note – Without the recovery partition, Windows will not allow you to refresh the Windows either (if your backup is not connected). The options that will not work are Refresh your PC without affecting your files and Remove everything and reinstall Windows.
How To Create A New Recovery Partition in Windows 8 / 8.1
If you have already deleted your Windows recovery partition and want to create a new one, follow these steps –
1. If you haven’t done so already, first you need to create an installation media for your Windows.
2. Once the media is created, download and install the Wim Converter on your PC.
3. Mount the downloaded Windows ISO, open it and browse for a file named install.esd
4. This is the recovery partition but it has to be converted to a .wim file to be useful. Copy this file to your computer hard disc location.
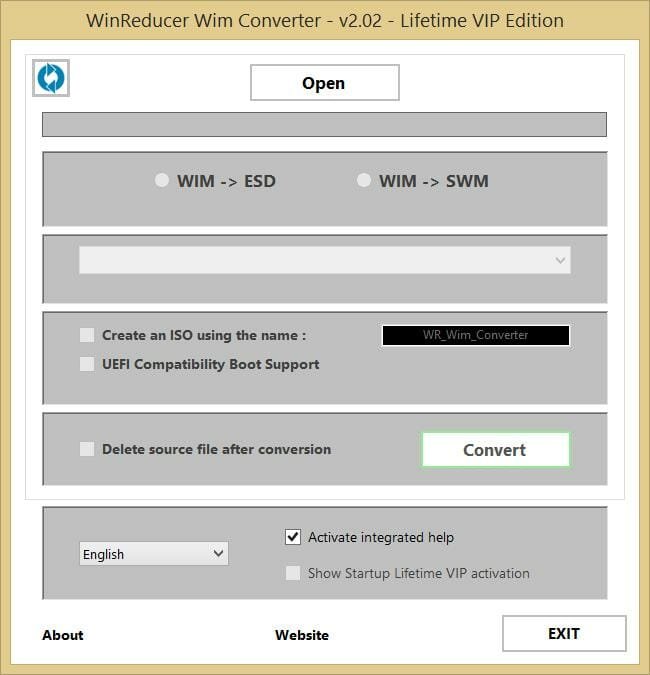
5. Launch the Wim Converter and open the install.esd file in it. Select WIM -> ESD and click on convert to start the process.
6. Once the file is converted, make a folder named Win81-Recovery in your C Drive and move the converted file to this location.
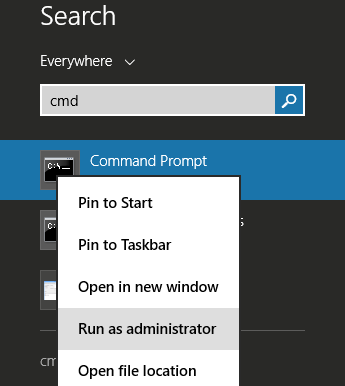
7. Now we have to register the file. To do so, open command prompt with Admin rights by searching Command prompt in the search menu, right clicking and selecting Run as Admin.
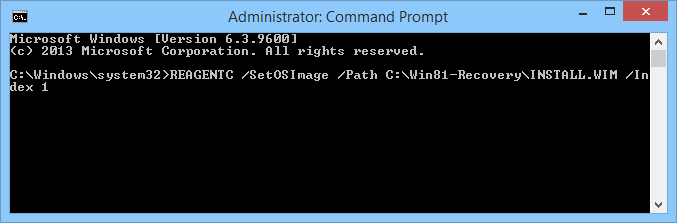
8. Now type in this and press enter – REAGENTC /SetOSImage /Path C:\Win81-Recovery\INSTALL.WIM /Index 1
9. The Wim file has now been installed as your computer’s recovery.
Conclusion
I would like to mention again that before you decide to delete your recovery partition please make sure that you have the recovery backed up. This will be helpful in case of emergencies like installation failure. Please get back to me with your comments in case of doubts regarding the processes mentioned. Don’t forget to subscribe!