How to Arrange Applications on macOS by Categories?
If you are a person, who sits in front of your Mac all day, chances are your app folder is a clumsy one. You have so many apps there that you need to spend at least two minutes to find the required one from the list.
As the number of applications increases, you have to spend much more time to find the needed one. But you can avoid this clumsiness if you sort the applications in Finder. Do you know how to do it? Don’t worry! That’s exactly what you are going to read here.
How to Arrange macOS Applications on Finder by their Category?
You know you have to set criteria while you arrange something. Well, here the criterion is the category. We are going to classify the applications on the basis of the categories they belong to.
Whenever you want to play a song, you can find the audio player under Music category. And, if you want to write a document, then you can find the software for it under productivity. The best thing about this categorization is your application section will never look like in the same clumsy manner anymore.
You have to follow the steps given below to successfully de-clutter the application section on your Mac machine.
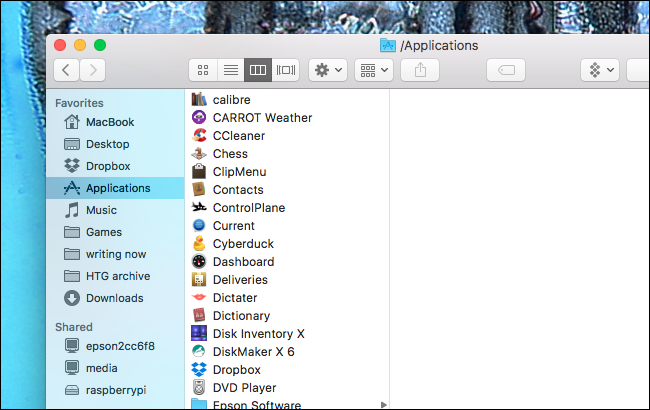
Step 1: First, you have to open the Finder and click on Applications folder. You can see it on the left sidebar (I hope you know the position given that you are a regular Mac user).
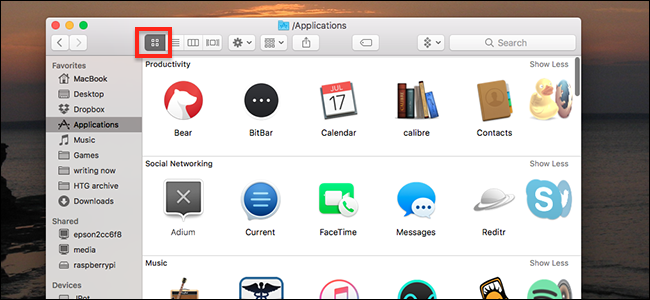
Step 2: Now, you can see all your applications in a list. Just like in any other folder, you get the choice to change the thumbnail size to a convenient one. You can do that if you want.
There, you should hit Command+ J simultaneously. What you get at this step is the View menu window. If you hate shortcuts, you can locate View option from the menu bar and go with Show view.

Step 3: Beneath a couple of checkboxes, you can see a dropdown menu with a label Arrange By: Click on the same to get more options.

Step 4: By default, the selected option there is Name. Means, all your applications are arranged in the order of their names. The second option, Application Category is the one we are looking for.
There you go! You can now see all the applications arranged under multiple categories. As I told you earlier, you can choose between different viewing options. You get multiple choices for it left to the Settings button.
If you have many applications on your Mac machine, you may notice that more than usual number of applications get dumped into Others category. It’s not the error from the side of Mac. That happens because the developers of such applications don’t specify a category.
Do you hate it? No worries! You can just repeat the same steps I have mentioned above and choose the Name option inside. Then, you will be good to go with the previous option.
Wrapping Up
I hope you know how to score macOS applications by their categories now. Did you know it before reading this post? Do you use it?
If you have found a way to avoiding applications getting dumped into the Others category, don’t forget to share the same in the comment section below. And, you can share your issues if any (it’s a simple tutorial, though).
Don’t forget to share this article on social media.