How To Automatically Post Facebook Photos to your WordPress Blog
Consider this.
 You have a facebook fan page with a growing follower base. You also have a blog which is powered by the self hosted WordPress cms. How do you automatically post Facebook photos to WordPress blog, without having to do it manually, over and over again?
Precisely, you want a system which can automatically send Facebook photo uploads to your WordPress blog, without you having to create a new blog post for every photo. You also want to cross post specific photo uploads from Facebook to your WordPress blog, not just all the photos. An example will make the whole point more clear.
Let us assume you have an eCommerce store where new products are introduced every weekend. You have thousands of facebook fans and whenever a new product is introduced to your ecommerce store, you post a photo of the upcoming product on your Facebook fan page, Twitter account and so forth. The photos are uploaded in the default album “Timeline Photos” and you want a mechanism which can automatically copy or post uploaded photos from the specific album “Timeline photos” to your WordPress blog as a new blog post.
Use WordPress Plugins To Auto Post Facebook Photo Uploads In WordPress
There are some really useful WordPress plugins which can literally pull photos from your Facebook albums and post the same on a page on your blog. You don’t have to download the photos on your computer, the plugin will make sure your Facebook photos are directly uploaded to your web server and added to a specific page on your blog. Of course, you get to choose the page where the photos are added.
Let us explore these plugins one by one but if you’re looking for an easy solution that does not involve plugins, modifying theme files, editing or adding random codes into your website, please check the later portion of this article.
Facebook Photo Fetcher: This is a brilliant plugin which can be used to create WodPress photo galleries with Facebook photos or entire Facebook photo albums. Using this plugin, you can import complete albums into a photo gallery and post it as a new blog post or page.
Galleries can be created from any Facebook album you can access: yours, your friends, your groups, or your Facebook fanpages.
Fotobook: Fotobook lets you import entire Facebook albums into your WordPress blog, you can choose to:
- display all your Facebook photo albums in a WordPress page.
- Import photos from multiple Facebook accounts.
- Sidebar widgets for displaying random or recent photos & albums
- Insert individual photos into posts/pages
Use IFTTT to Automatically Post Facebook Photos To Your WordPress Blog
What is IFTTT anyway?
IFTTT is a service that lets you create powerful connections with one simple statement – “if This Then That”

Basically, IFTTT takes the responsibility of executing an action when a trigger is initiate. Of course, you get to choose the logic of the trigger and you choose to associate the trigger with your online properties.
In this example, the photo uploaded on Facebook acts as the trigger and the corresponding action is the automatic post in your WordPress site. You have to hook up your Facebook fan page and your WordPress blog into IFTTT as individual “Channels”
Let me give you a complete walkthrough of all the steps required to configure IFTTT to autopost Facebook photos to WordPress:
1. Go to the IFTTT website and sign up for an account. It’s free!
2. Go to this recipe – Photo post from Facebook to WordPress page and add this recipe to your IFTTT account. This recipe works with hootsuite by posting any message and image you schedule for your Facebook page to also post as an image on WordPress.
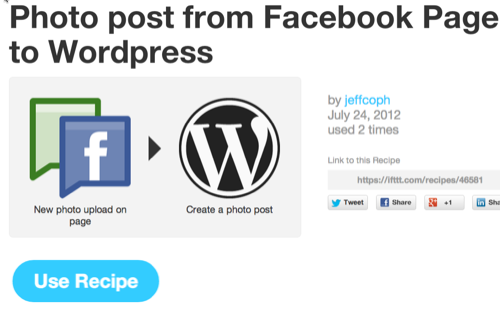
3. If this is the first time you are using IFTTT, you will be asked to activate channels. Channels are basic building blocks of IFTTT, it allows you to specify your source and target web services. So in this example, you have to add two channels to your IFTTT account, one for Facebook and the other for WordPress. A complete list of all IFTTT channels can be found here.
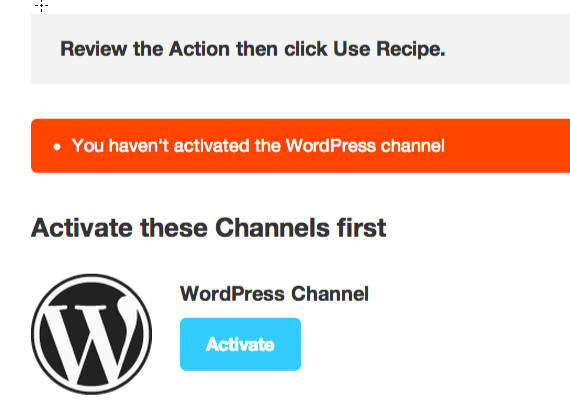
4. Clicking “Activate” under the WordPress channel should open a new browser window where you will be asked to specify the URL of your WordPress blog and login with an administrator account.
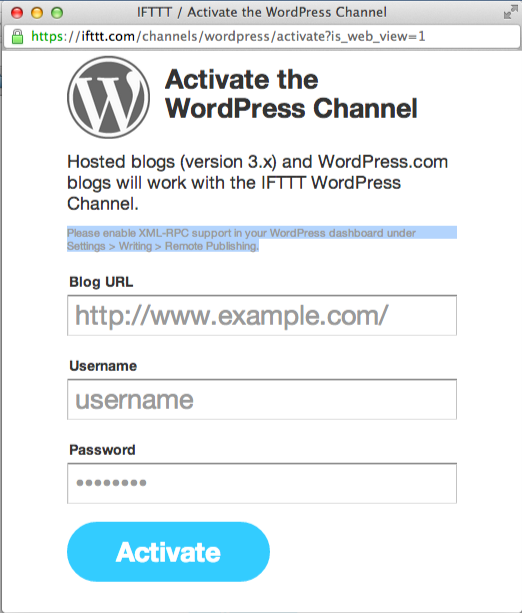
Before you proceed any further, please take care of the following two things:
- You must specify the address of your WordPress installation directory and not the web address of your website. For example, if you have installed WordPress in a custom folder e.g http://www.example.com/files/wordpress/, you should mention the same under “Blog URL” field.
- You must activate XML-RPC support in your WordPress dashboard under “Settings > Writing”
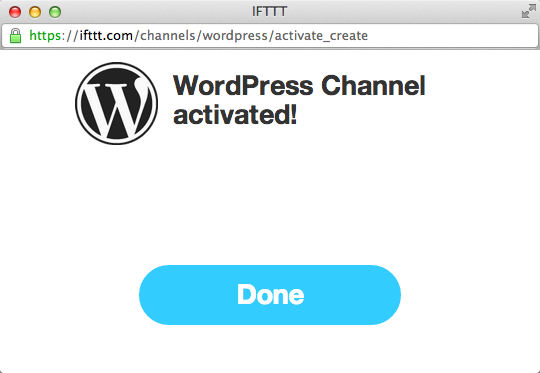
5. When you have successfully added the WordPress channel to your IFTTT account, you will see the following message:
6. Now you have to add the “Facebook pages channel” to your IFTTT account and activate it.

7. When you click “Activate”, you will be asked to choose the Facebook page which will be scanned for updates. So if you own or manage multiple Facebook pages, choose the one which you want IFTTT to monitor.

8. After selecting the desired Facebook page, you’re ready to go.
Customize the nature and format of the IFTTT Action
Now that you have specified the source and target channels, you need to tweak how the IFTTT action is executed. In the “Action” page of the recipe, you can specify the format of the WordPress post, choose to post photo uploads under a specific tag or category and completely customize the format of the blog post which will be automatically published on your WordPress site, whenever a new photo is uploaded to your Facebook page.
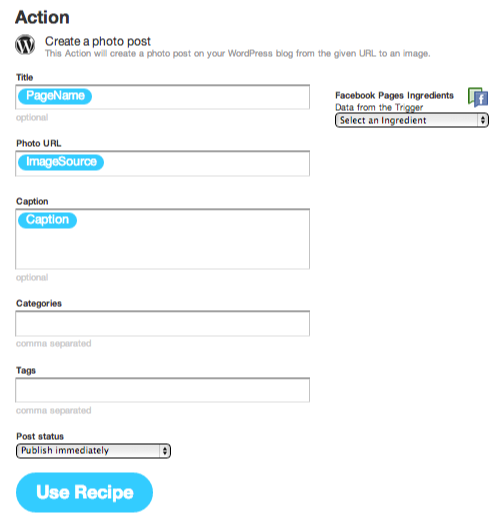
When you’ve completely customized the IFTTT recipe, you are good to go. Hit “Use Recipe” and you’re in business.
Now IFTTT will automatically check for new photo uploads in your Facebook page and whenever you or any of your users upload a new photo, the same photo will be published in your WordPress site as a new blog post.

Although the recipe is configured to execute its trigger manually, sometimes you may feel the need of manually triggering it. To do that, just hit the “Check now” button and it will be triggered instantly. The advantage of triggering the recipe manually is that the service will instantly check for new photo uploads in your Facebook page and if there is one, the corresponding blog post will be published, without any time lag.
Give it a spin and let us know your thoughts and doubts in the comments section.
Hi,
Is there any way you know of, to substitute Dropbox (instead of Facebook) and automatically upload the photos I take with my android phone, to a wordpress site via dropbox?
Thank you for any help or advice you might have.
Paul