How to Lock and Unlock Your PC With USB Raptor
We often develop a habit of locking or shutting down our computers when we are away from our workstations at work. Some companies even instruct their employees to do so under their rules and regulations. Moreover, this necessity may even arise when one is away from home with their laptop or with people living in hostels (to stop those fake facebook updates). To be honest, locking and unlocking your PC 10 times a day with the usual monotonous method of clicking the mouse and entering the password seems like time wastage , let alone boring and outdated. Such insecurities should be tackled in neat ways. So let’s talk about this Windows tool called USB Raptor.
What is USB Raptor
USB Raptor is a computer program that let’s you use a USB drive as the layer of security for locking and unlocking the PC. When the USB is plugged in, the computer unlocks itself and when the USB is removed, the computer goes into lockdown again. Your USB becomes like a key to a door. As cool as it may sound, it’s an awesome time saver too. The mechanism of the program is simply to encrypt the password to a ‘lock file’ which is then saved on the USB flash drive. Every time you connect the USB the program searches for this file, extracts the password out of it, matches it to the set password and unlocks your PC. There are numerous advanced features too which we will discuss.
Using the program
You can download the program file from this link.
There is no installation required. Just download the zip file, extract it using a tool like WinRar, launch the program and you are ready to go.
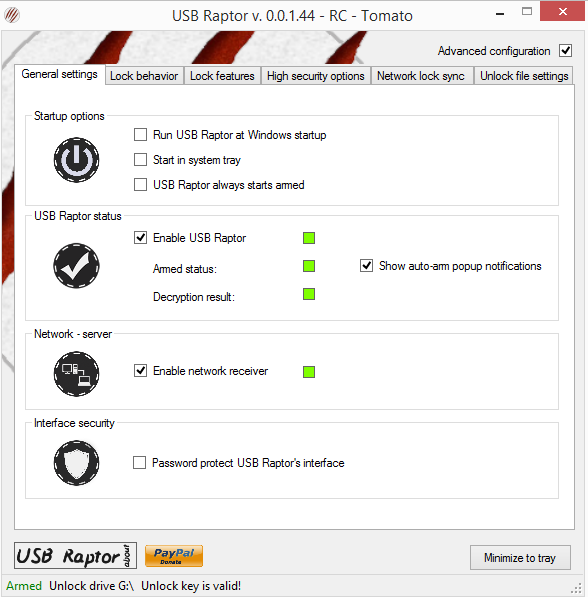
The interface of the tool looks like this –

As you can see, it will set up your security in 3 simple steps.
1. Enter the password you want to set
2. Connect the usb flash, select it and click on ‘Create k3y file’.
3. Check ‘Enable USB Raptor’
This will put the program into armed mode.

As soon as you disconnect the USB from the PC, it will go into lockdown. The only 2 ways to unlock it is to either Connect the USB or manually enter the password. The latter function is of course included to come in handy in case you lose your USB.
Advanced Features
Apart from these basic functions, there are some advanced features too. These can be accessed by clicking on ‘Advanced Configuration’ on the upper right.
There are many options to set your preferences as well as to further increase your security grouped under various sections. You can easily play around a bit and see them yourselves.
The main features are –
1. You can set the tool to launch at startup armed/unarmed.
2. The interface of USB Raptor can also be password protected. This password will be the same as that for the PC. The function is visible in the previous snapshot.
3. Under ‘Lock Feature’ section, you can choose to ‘Mute PC sound while locking’.
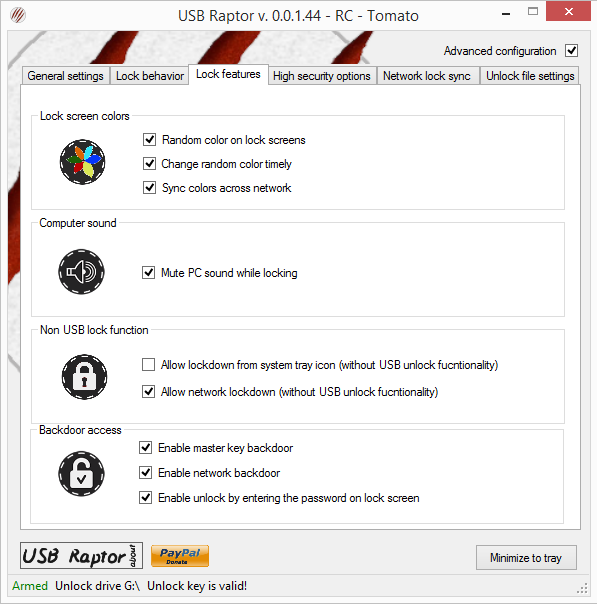
Note – Under the same ‘Lock Feature’ section, there is an option to ‘Enable unlock by entering the password on lock screen’ which is by default checked. I firmly advise you to never uncheck this option. It acts as a life saver in case you lose the encrypted USB device.
Additional Super Advanced Features
There are also some super advanced features which may not come in handy for the sporadic user but nonetheless they take your security to the next level.
1. Under ‘High security options’ you can set the PC to unlock only if a specific USB drive is used. This will be done by detecting the USB serial number and protects against USB cloning.

2. You can also set up not to accept keys made on other computers under ‘Computer tailored unlock file’.
3. Now something simply amazing. Raptor can also be used to lock and unlock a 100 computers over a network. This can be set up by firstly setting up the tool in all the computers on the network and then using the following features under ‘Network lock sync’.
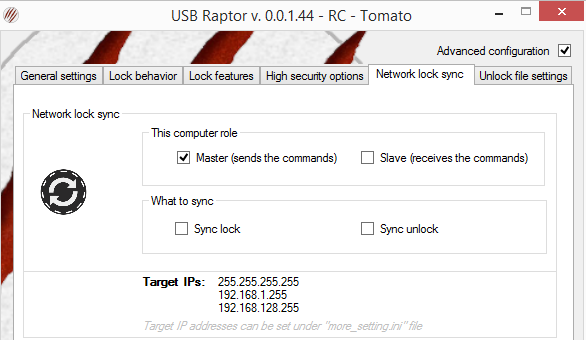
There are 2 options to classify the PC – either as a ‘Master’ or as a ‘Slave’. The master gives the command and the slave obeys. That is, once you lock/unlock the master computer using your USB, the effect will take place over the whole network.
The ‘Slave’ computers can be targeted by altering the file ‘more_setting.ini‘ file. This file is present in the same initial folder through which the USB Raptor application is first launched.
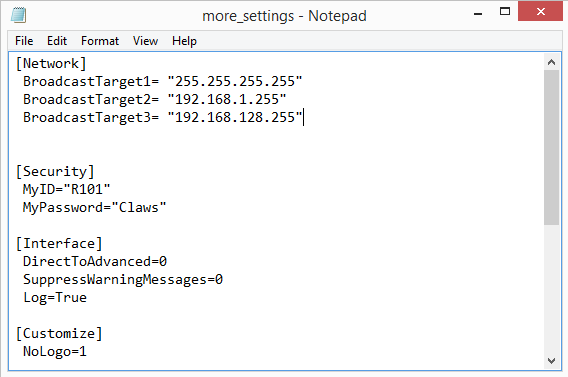
Just add the targeted IPs to the list under [Network] in the indicated way –
BroadcastTarget4= “ip address of the target computer”
BroadcastTarget5= “ip address of another target computer”
And so on.
The program is well designed and there are many customizable security options that cater to all the needs of the user. And let’s face it, as convenient as locking your computer by just removing the usb might be, it also feels cool to do so. Okay. Guilty as charged.