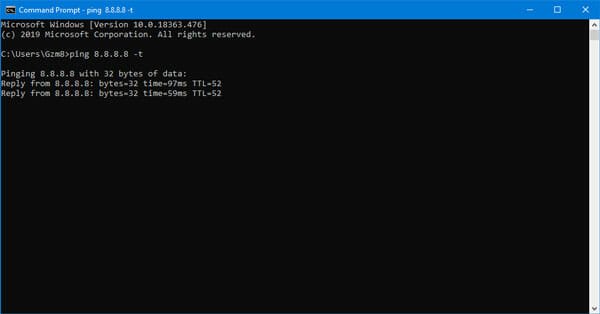
How to Increase Internet Speed in Windows 10?
So, you want to increase internet speed in Windows 10, don’t you?
Having a slow connection is the real pain as we have to wait a long time to get a single webpage loaded. When it comes to downloading, the waiting time lasts hours, even days.
Don’t worry! I am here to help you increase internet speed on Windows 10. You can get at least 20% boost in the speed using the methods I am going to share.
So, shall we begin? Here you go!
Increase Internet Speed in Windows 10
I have divided this article into several sections for your convenience. Under each section, you will get the steps to follow.
Enable Limit Reservable Bandwidth
Windows 10 doesn’t provide you with 100% speed of your connection. It reserves 20% for the system use. Means you only get the remaining 80%. In this section, you will read how to get the maximum 100% speed.
Step 1: First, you have to open run dialogue box. Hit Win key+ R simultaneously for it. The function of the dialogue box is similar to CMD. You can enter commands there.

Step 2: Enter gpedit.msc into the field. Don’t forget to hit Ok.
Step 3: What you get at this step is the group policy editor. Have you ever opened this? It can do wonders with some simple steps that eventually improve or destroy your computer.
Follow Computer Configuration -> Administrative Templates -> Network -> QoS Packet Scheduler.
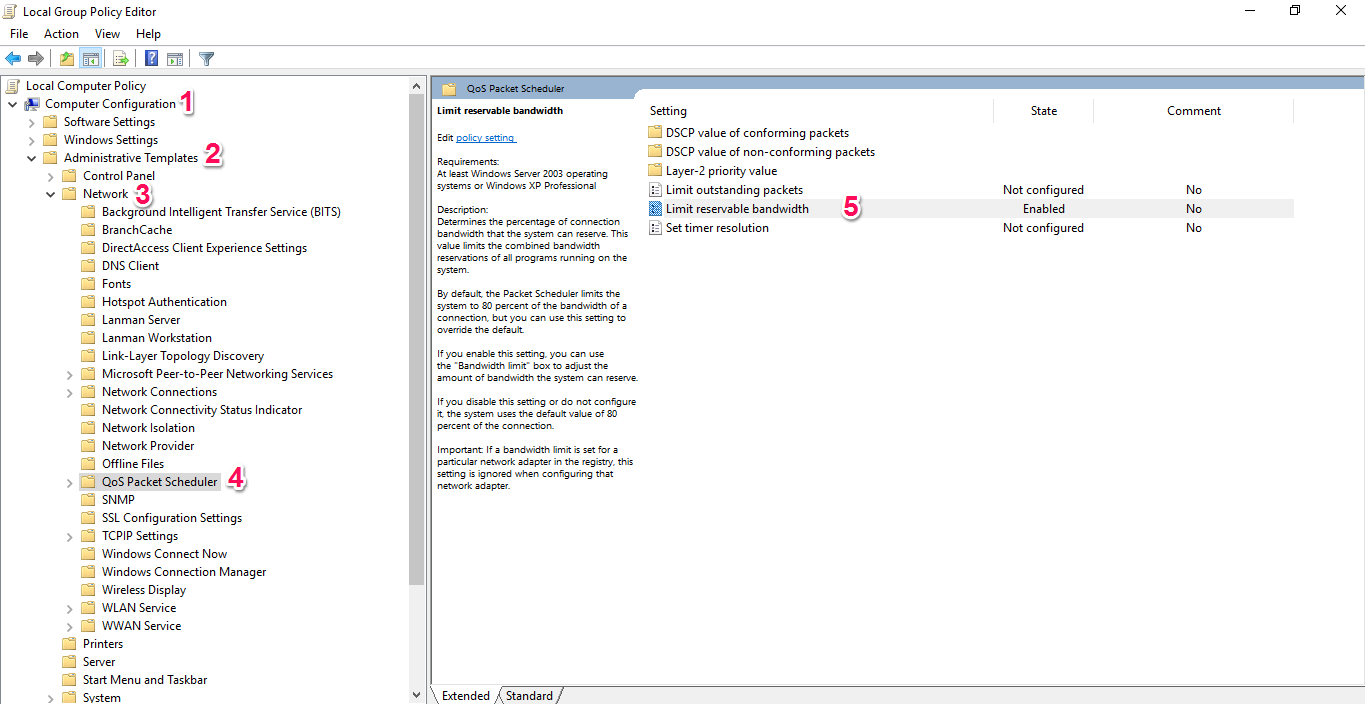
Step 4: You can see Limit reservable bandwidth there. Enable it and enter the value as 0. By default, it will be 80.

There you go! Press Ok and restart your system. From now on, your computer will give you the maximum speed of the connection no matter what.
Turn off Updates from More than One Place
Microsoft has added a dedicated option on Windows 10 that delivers parts of updates to computers on your local network or internet from your system. Obviously, it will affect the internet speed.
Fortunately, you can turn this off to get the maximum speed.
Step 1: Hit win key or press the start button and choose Settings from there.
Step 2: From the Settings window, choose Update& Security.
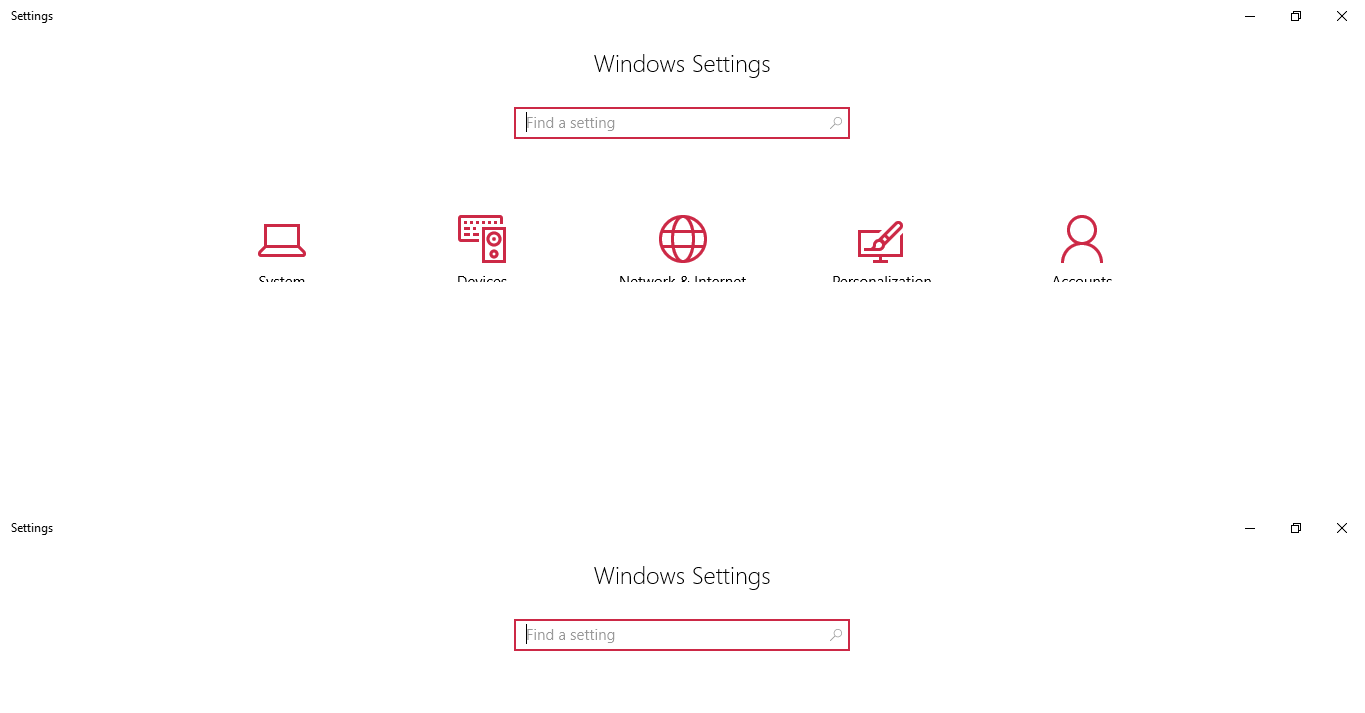
Step 3: There, you can see Advanced options. Don’t forget to click on the same.

Step 4: Go with Choose how updates are delivered.

Step 5: Don’t go with any radio buttons given at the bottom of the window. Turn it off straight away.

There you go! I hope you won’t search for ‘how to increase internet speed in Windows 10’ anymore.
Clear Cache and Cookies
Sometimes a lot of cookies and cache badly affect your internet speed. Here I will help you clear them.
There are two ways I suggest. You can manually clear them from the browser window or use a third-party app like CCleaner to clear them from every browser on your computer.
If you are a person who uses multiple browsers, I recommend going with the second option. Just install CCleaner and open it. Hit Analyze to get an idea of junk on your system. Finally, choose what to clear and press Run cleaner. There you go!
Change DNS Server Addresses
By default, Windows automatically select DNS server addresses. You can specify some to increase the speed.
Step 1: Open Network and Sharing Center and go to Change adapter settings.
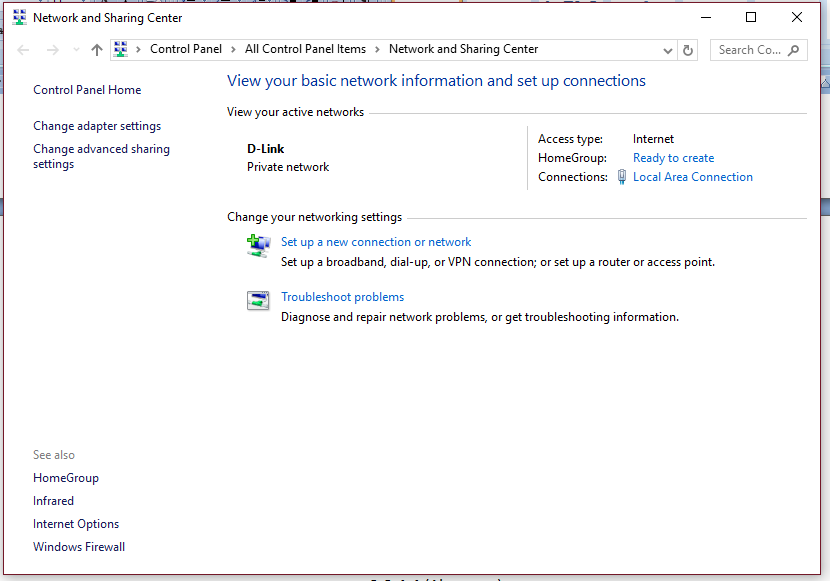
Step 2: Choose the active connection and open its Properties. (Hit Alt+ Enter or right-click and choose properties)
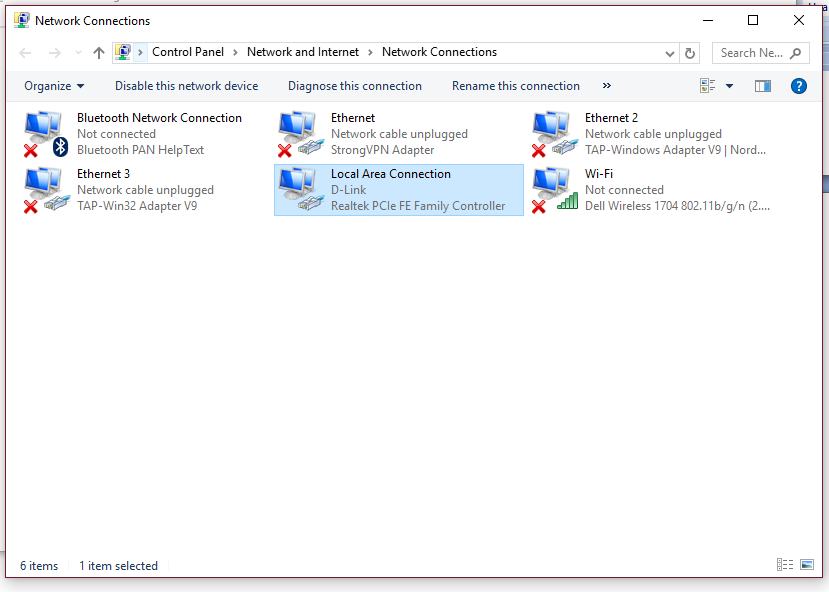
Step 3: Choose TCP/IPv4 and click on Properties.
Step 4: Select ‘Use the following DNS server addresses’. Then enter any of the following pairs.

8.8.8.8 (Preferred)
8.8.4.4 (Alternate)
OR
208.67.222.222 (Preferred DNS Server)
208.67.220.220 (Alternate DNS Server).
Wrapping Up
I hope you now know how to increase internet speed in Windows 10. If you have any queries, feel free to drop a comment.
What are you waiting for? Go on and increase internet speed on Windows 10 now.
